



In this blog post, we will see how to integrate OneSignal android push notifications in React Native.
Push Notifications
Push Notifications are the main source of getting the user's attention to an important event that occurs in the app such as receiving a message or payment. They play a vital role in the apps conversion rates. Push notifications in react native can be accomplished with the help of many packages. OneSignal is one of them. I find it easy to configure than other packages. OneSignal can be used to send push notifications in Android, iOS & web. OneSignal is free to use. But their business model depends on the data. They sell the data to third party advertisers. If you are concerned about data privacy. OneSignal free plan may not be the right option for you. Please take a look at their data secure options here. Now let us look at integrating OneSignal with react native application.
Android
Firebase Cloud Messaging(FCM) FCM service is necessary for sending push notifications in android.
The below steps are required to integrate notifications
- Create firebase project
- Link one signal package.
- Testing notifications.
1. Create the firebase Project
Go to firebase and create an android project. There are a couple of steps we have to follow to create a firebase project.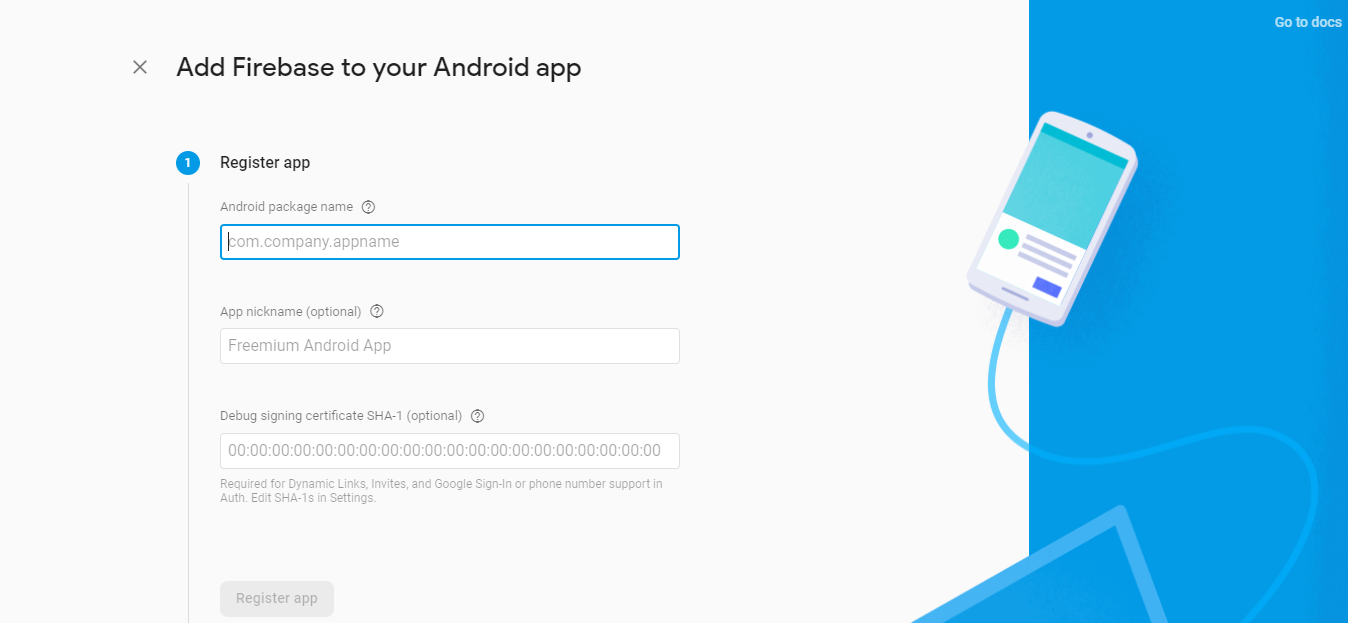
For the first step you will need
- Bundle id - You can find this in androidManifest.xml file
- SHA1 Hash of keystore - Everytime you compile or take a build of your android app, keystore is the one that signs the app. This is to verify that the app is developed from your system for security reasons. Each keystore has a unique hash.
Use this command to get hash
keytool -list -v -keystore C:\Users\\.android\debug.keystore -alias androiddebugkey -storepass android -keypass android
Replace in the above command with your username. You will see a lot of hashes. We need only SHA1 value from that list. Paste that and click Register app. Download google-services.JSON file and paste it in project/android/app
This file contains all the url and config of firebase app that helps to establish the connection between our app and firebase app.
The next step is Add Firebase SDK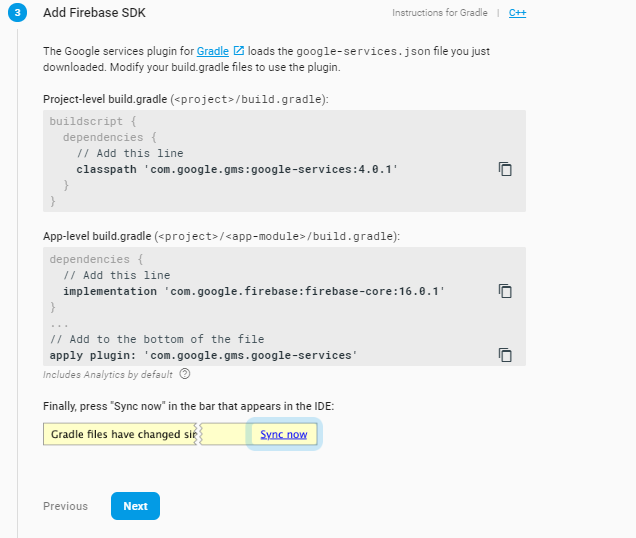
Add those lines in the app for configuring firebase
If everything is configured correctly, the success alert will show in console.
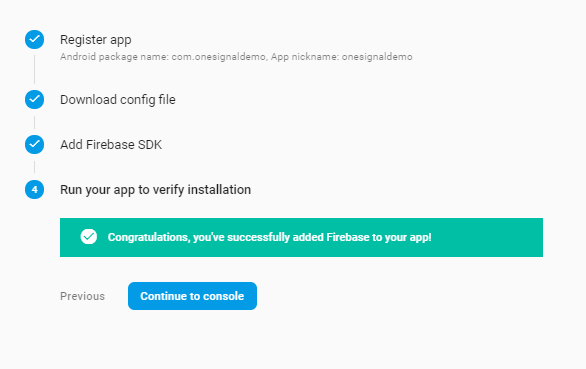
Click Continue to console.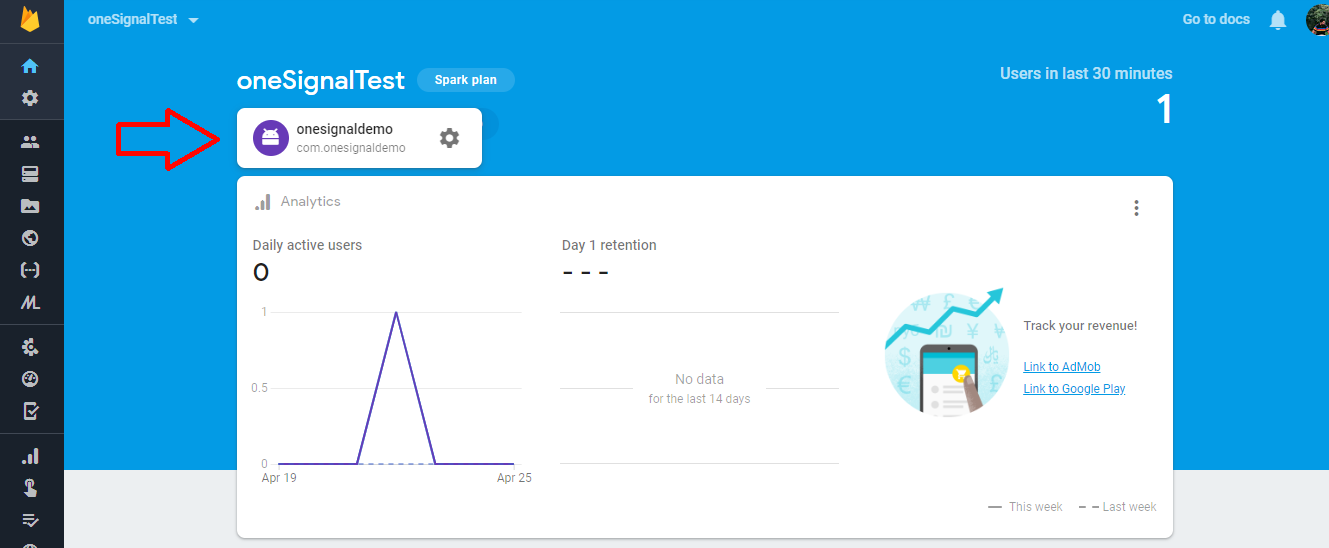
Click on android icon below project title and click settings. Then click the Cloud Messaging tab you will see server key and sender id. Copy this, you will need this in the next step. Firebase configuration is over. Now lets move to OneSignal integration.
2. Linking OneSignal Package
npm install --save react-native-onesignal
react-native link react-native-onesignal
Follow the instructions given here to complete android linking
Once the package linking is done we need to configure app in one signal dashboard.
Login to onesignal dashboard here
- Click Add App
- Enter App Name
- Select the platform as Android
- Paste the server key and sender id that is copied from firebase console.
- Select the platform as React Native
- Copy the App ID displayed.
Go to App.js in your project and paste the following
import OneSignal from 'react-native-onesignal';
OneSignal.init("PASTE-APP-ID-HERE");
The configurations are done now let's test if it works properly: Go to OneSignal dashboard -> Messages Tab -> New push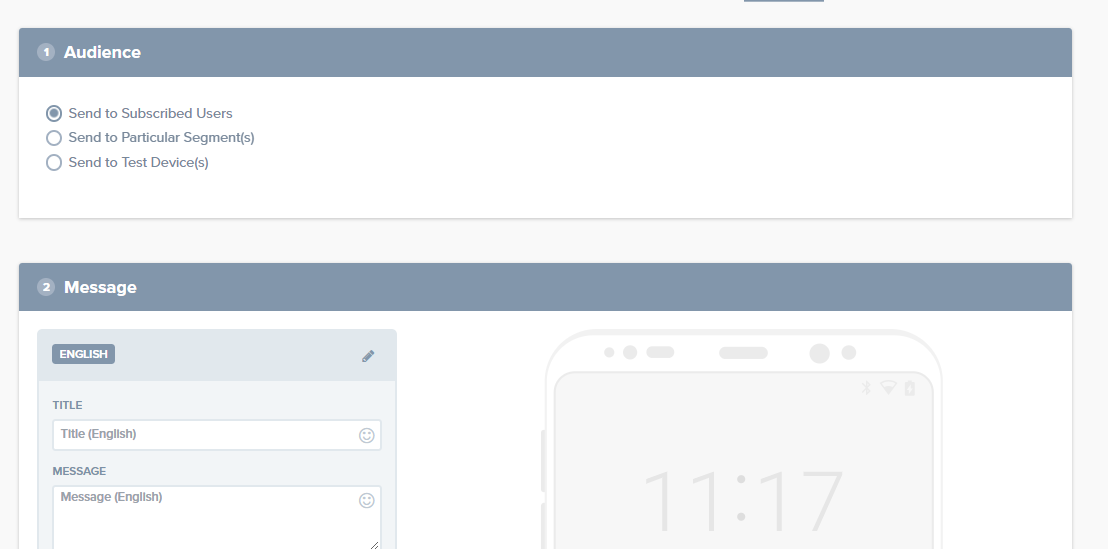
Type the notification title and body. Click confirm you will receive notification in your device.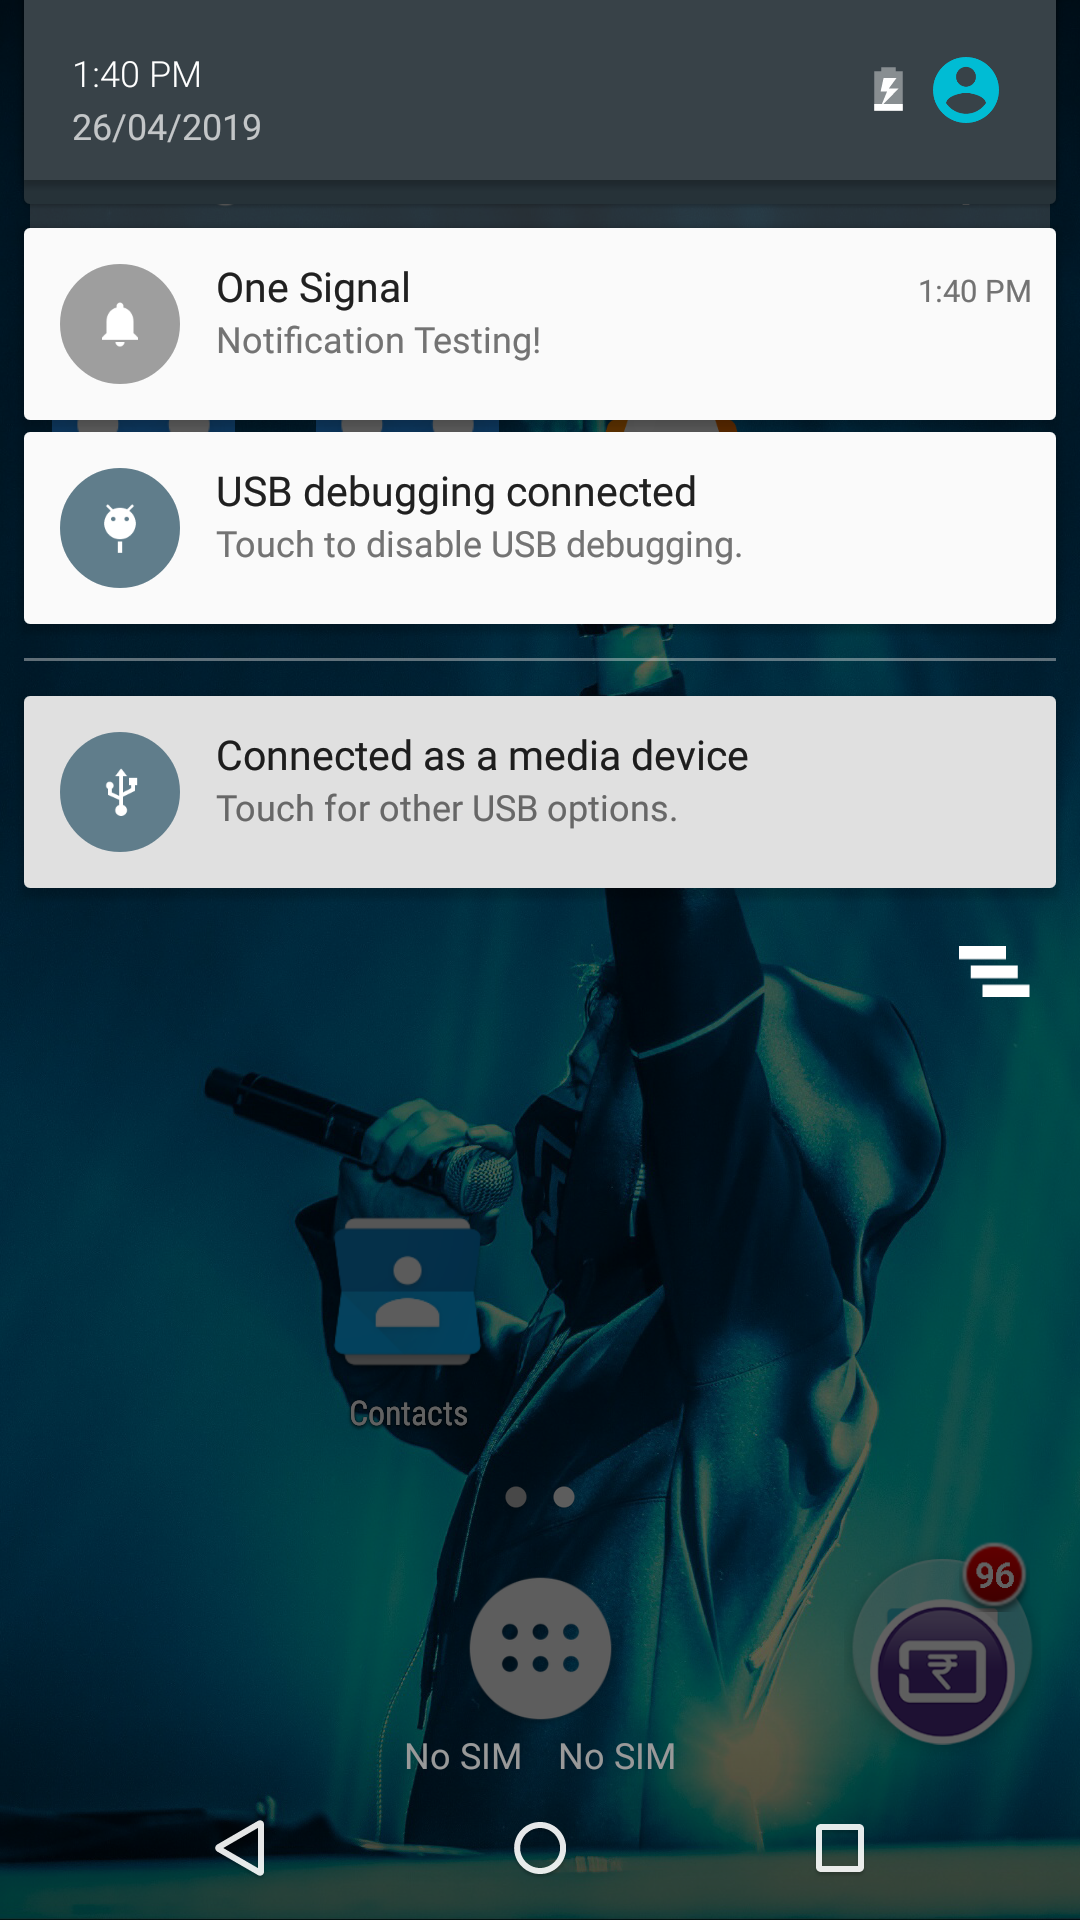
Unlike iOS notifications which only works on real iOS device and not on iOS simulator, this is even works in android emulator
Three scenarios we need to test for notification:
- Foreground - when the app is running
- Background - when the app is minimized
- Killed - when the app is closed from background
These three scenarios should work if the configuration has been done correctly.
By default foreground notifications are not displayed in notification tray and only an alert pops up. If you want to change this behaviour add the below code
OneSignal.inFocusDisplaying(2);
For more reference check here
By default there will be a bell icon on left side of notification. If you want to change it go to this site
Generate your own icon and extract the files. Copy all the folders to android/src/main/res directory.
The bell icon will be replaced with your custom icon. Now, Lets see how we can send notifications from backend server instead of onesignal dashboard.
Sending notification from server:
OneSignal provides a REST API for sending notifications from server. We will be using onesignal-node package in NodeJS, this package is just a wrapper for the REST API.
We will need these three things for sending notifications from server side.
- user auth key
- app auth key
- app ID
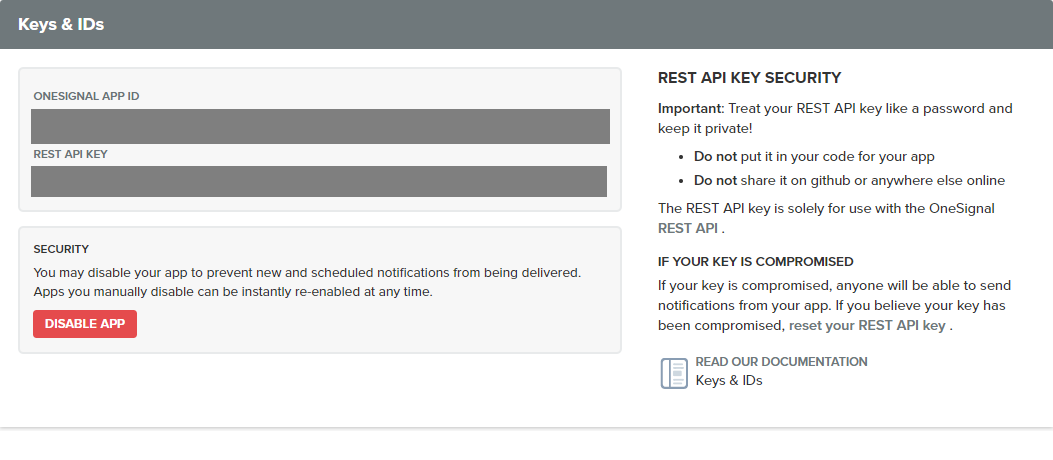
You will find App ID and App Auth key in Keys & IDs section in settings tab of OneSignal dashboard.
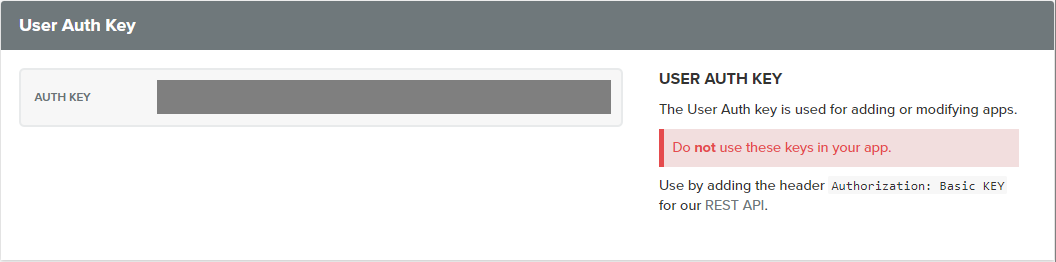
To get user auth key. Click user avatar at the top right corner and select ACCOUNT & API KEYS option.
Now lets move on to code,
Install the onesignal-node package with this command
npm i onesignal-node --saveConfiguring one signal credentials in server:
var OneSignal = require('onesignal-node');
// create a new Client for a single app
var myClient = new OneSignal.Client({
  userAuthKey: '',
  // note that "app" must have "appAuthKey" and "appId" keys
  app: {
    appAuthKey: '',
    appId: ''
  }
});

var firstNotification = new OneSignal.Notification({
  contents: {
    en: "Test notification",
  },
  include_player_ids: ["1dd608f2-c6a1-11e3-851d-000c2940e62c", "2dd608f2-c6a1-11e3-851d-000c2940e62c"]
});
We need to create notification object with the above function. The include_player_ids is an array of device ids to send the notification. It is optional. Instead of sending notification to specific users with device IDs, we can also to send it to different groups of users called segment.
// set target users
firstNotification.postBody['included_segments'] = ['Subscribed Users'];
This code sets the notification to be sent to Subscribed Users. We can divide users based on some criteria such as location, activity & interests and send targeted notification to a specific segment of user. https://documentation.onesignal.com/docs/segmentation
// set notification parameters
firstNotification.postBody['data'] = { abc: '123', foo: 'bar' };
This is the data that the user doesn't see in notification but when the user clicks on the notification, this data will be passed on to the opened event and we can decide what action to take with this data such as redirecting user to a specific screen.
myClient.sendNotification(firstNotification, function(err, httpResponse, data) {
  if (err) {
    console.log('Something went wrong...');
  } else {
    console.log(data, httpResponse.statusCode);
  }
});
This function finally sends the notification to the app.